Getting Started
Since MCP servers link an API to an LLM client, the first part of launching an MCP server through the Cequence AI Gateway is uploading an API specification. You can do this in a few different ways.
You can define an 'app' within the App Catalog. In this context, an app is just a container for an API specification that lets you specify some tags and other metadata for organization.
Alternately, you can launch the MCP server creation flow directly and upload the API specification from there.
In either case, once you have the MCP server defined, you can connect the server to your LLM tool of choice.
The Cequence AI Gateway directly supports integration with Claude, Cursor, and the Windsurf IDE, and you can also manually integrate with any other LLM you're using.
Creating an App
Once you've logged in to the Cequence AI Gateway, click Apps. Several apps are already available, but for this example, we'll make a new app from the start. Click the +Custom App button in the top right.

The Add Custom App dialogue box appears. On the right side of the dialogue box, there's a space where you can upload an API specification, either by dragging the file to that area or by clicking Browse Files to navigate your file system. The file must be in the OpenAPI format.
All fields other than the API specification and app name are optional. The description, primary category, app family, and secondary category are meant to help you organize your apps and quickly find a specific app.
Click Create App to return to the App Catalog. You're ready to start the MCP server that provides the new app's functionality.
Create the MCP Server from an App
Find your new app in the App Catalog. You can click the paired arrows icon to show the sorting options. Click Newest to Oldest to show the app you just created at the top of the App Catalog.
Click your new app to show a summary of the API specification associated with that app. Click Create MCP Server to start. The Create MCP Server wizard appears.
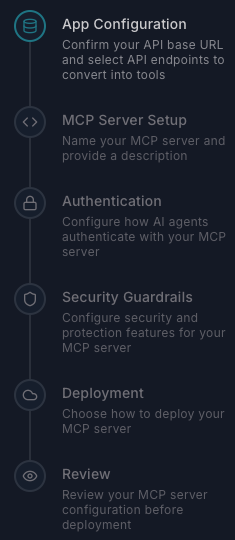
App Configuration
Choose an option from the Base URL drop-down. The Cequence AI Gateway derives these URLs from the API specification you uploaded earlier. In the API Tools for AI Agents pane, you can type a string in the search field to filter the list of endpoints, or select a method from the Filter by method: list. Select a set of endpoints for the MCP server and click Next.
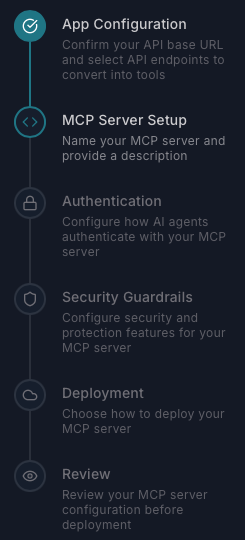
MCP Server Setup
At this step, you can change the server name and description, as well as set the log level. Production Mode produces terser logs, while Non-Production Mode creates more verbose logs with additional information you might find useful for debugging or tracing specific behavior. Click Next to advance.
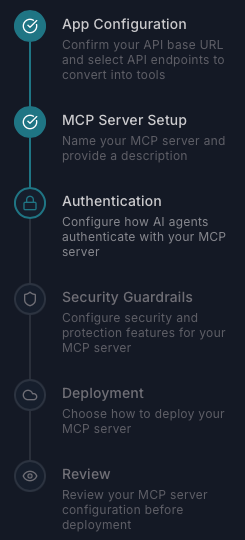
Authentication
Specify what kind of authentication you'll use for this MCP server. With Passthrough authentication, the MCP server forwards any existing credentials directly to the service, making no changes. If you use API keys, Basic Auth, custom headers, or no authentication at all, select Passthrough.
To use OAuth 2.0, select OAuth 2.0. You'll need the following items to configure OAuth 2.0 authentication.
- Authorization URL
- Token URL
- Client ID
- Client secret
- Optionally, a redirect URI
- Optionally, scopes
Once you've selected the authentication type and provided any needed items, click Next to advance.
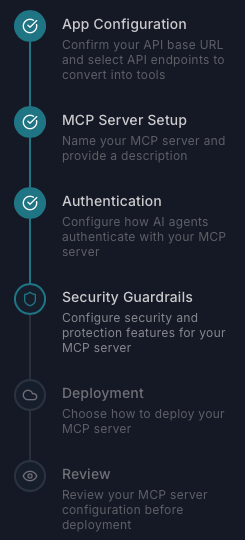
Security Guardrails
This step enables you to define the level of API protection in place for the API that the MCP server uses.
The Business Logic Abuse and Fraud Detection pane lists rules for detecting security issues. You can disable all of them from the main toggle or expand the Configure Rules section to enable or disable individual rules.
The Real-time Threat and Fraud Mitigation pane enables you to specify a mitigation action in response to a detected threat. When you enable this functionality, you can choose to respond to a threat with rate limiting or with a complete block.
Once you've configured the level of API protection, click Next.
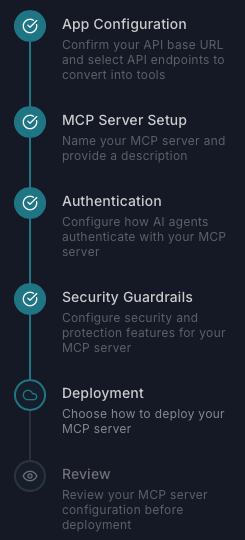
Deployment
In the current version of the Cequence AI Gateway, all MCP servers deploy to the Cequence Cloud. Click Next.
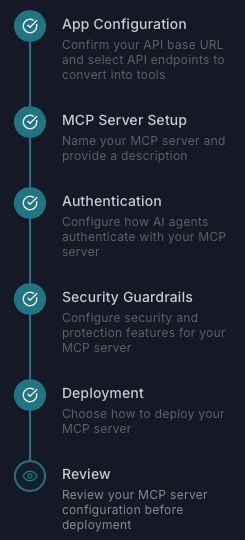
Review
Look over a summary of your MCP server configuration and click Create & Deploy when ready. Deploying takes a few minutes. Watch the Dashboard for the Deploying... message to clear.
Creating an MCP server from the Dashboard
From the Cequence AI Gateway dashboard, click +Create MCP Server. The Create MCP Server wizard appears.
Select API Source
You can source an API specification from the following places.
- Custom. This approach enables you to import a specification from a file. The process is the same as in Creating an App. For a detailed step-by-step guide, see Create an MCP Server with a Custom API.
- Enterprise. If you have an instance of the Cequence Unified API Protection (UAP) platform running, you can import any of the discovered API specifications from that instance.
- Third-party. You can select a connector from Cequence's catalog here. For a detailed step-by-step guide, see Create a third-party MCP Server.
Once you've selected an API specification, creating the MCP server follows the same procedure as before, starting with App Configuration.
Integrate with your LLM agent
Once your MCP server is deployed and running, go to the Cequence AI Gateway dashboard and click the tile for your server to manage integrations. Click Create Agent Integration to start.
The Cequence AI Gateway supports quick integrations with the following agents.
- Claude AI
- Cursor AI
- Windsurf IDE
Click Create Agent Integration to bring up the Easy Integration Setup pane. Choose the tab for the agent you're integrating with and click the copy icon in the Quick Setup (NPX) tab. The command-line instruction to integrate the MCP server with your AI agent is in your clipboard. Paste the command to a terminal window and run the command. A confirmation message at your terminal indicates that you're ready to test the integration.
Testing the integration
The next time you authenticate to the agent, you will need to provide your authentication credentials if you configured the MCP server to use OAuth 2.0.
Run your AI agent and select the list of tools. This varies based on your agent. Using Claude as an example, the tools control is at the bottom of the text field, next to the Upload a file icon. The tools are enabled by default, but you can disable them by selecting the toggles on the list. To use the tool, refer to the tool in your prompt. For example, if your MCP server provides a tool based on a customer details endpoint, you can use Show me the customer details for user ID 12345 as the prompt, and your AI agent makes the proper request to the customer details endpoint and reports back.